
There are two places where you can find your tracking code.
First, when you initially go through the setup wizard, in the last step, you’ll see the tracking code section.
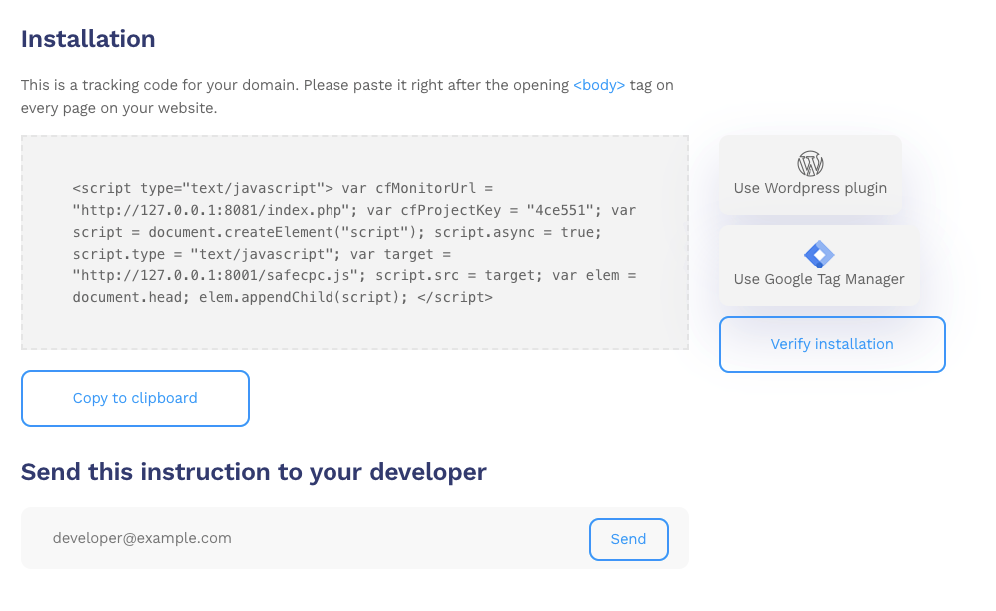
You can install the code using the WordPress plugin, which you can find here, using Google Tag Manager, or by yourself by adding the snippet into the <head> section of your page right before <body>
Google Tag Manager
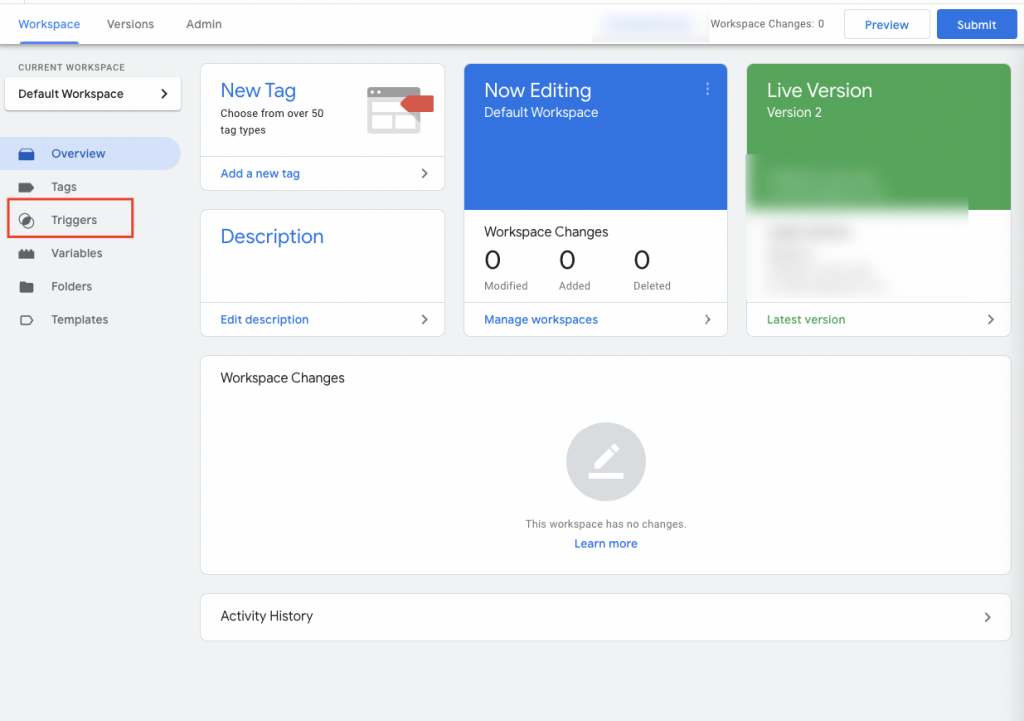
- Go to the https://tagmanager.google.com/#/home
- Select yours page container
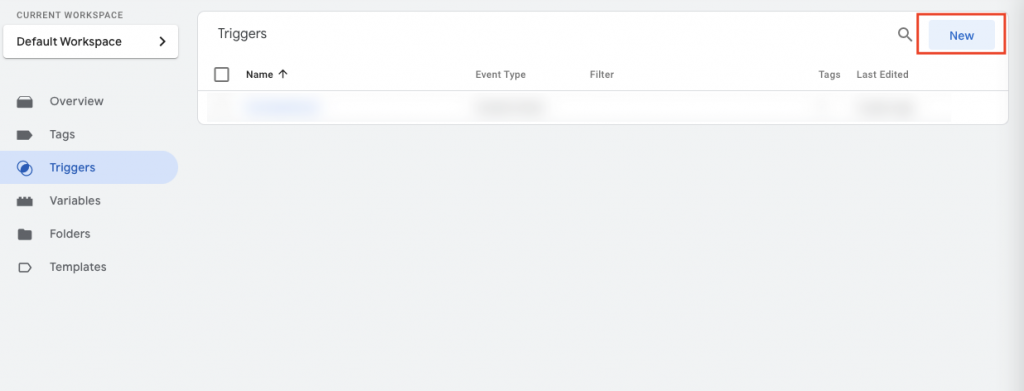
- Go to Triggers
- Click on the “New” button
- Set up a trigger
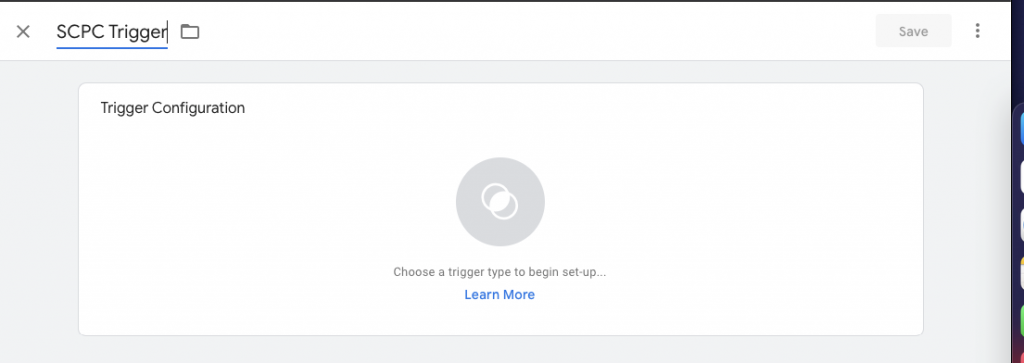
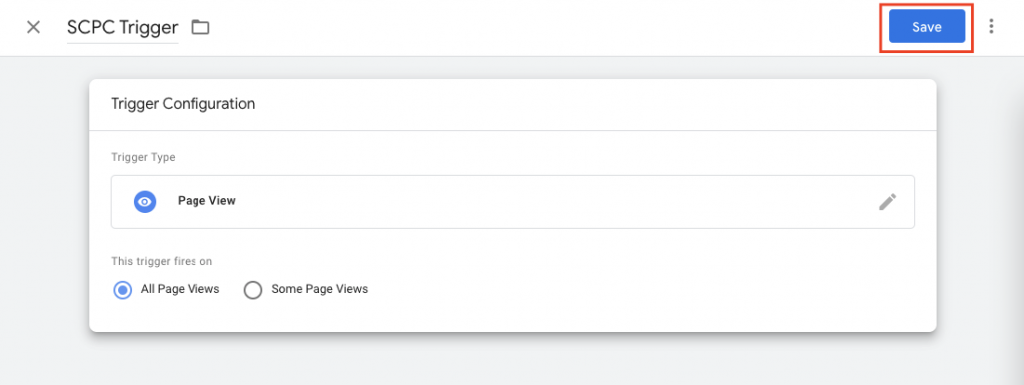
Select Page View
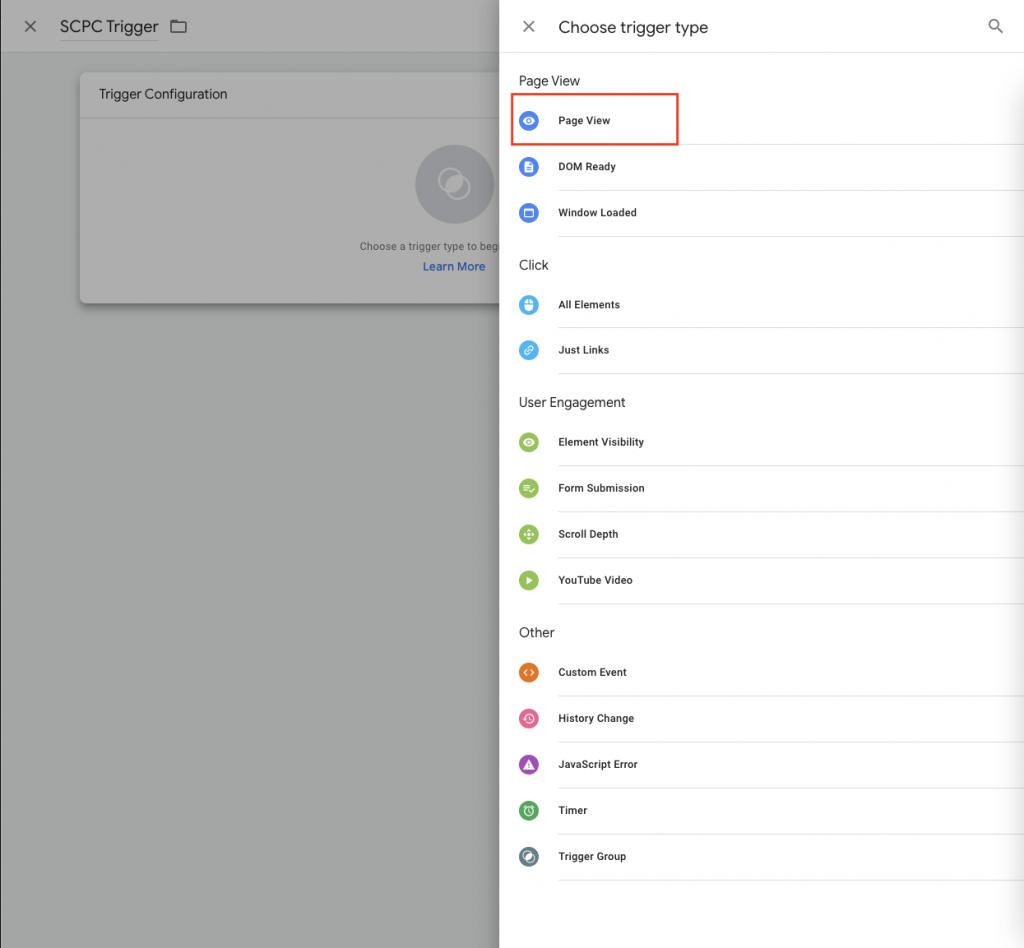
and Save
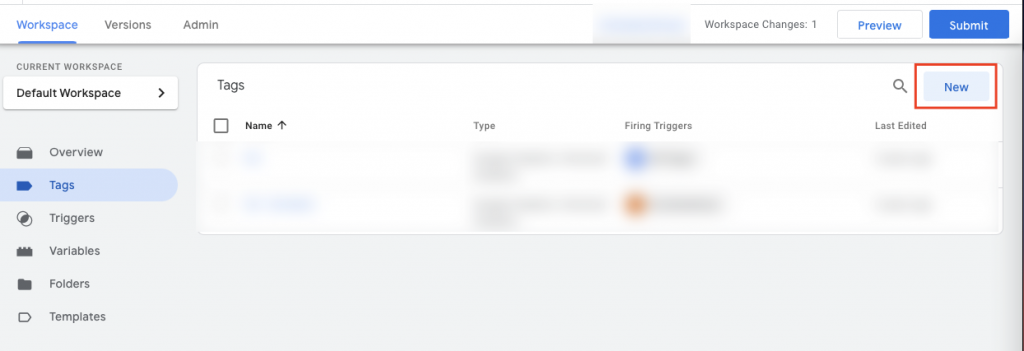
Now go to Tags and click “New”
Add name and click on the Tag Configuration
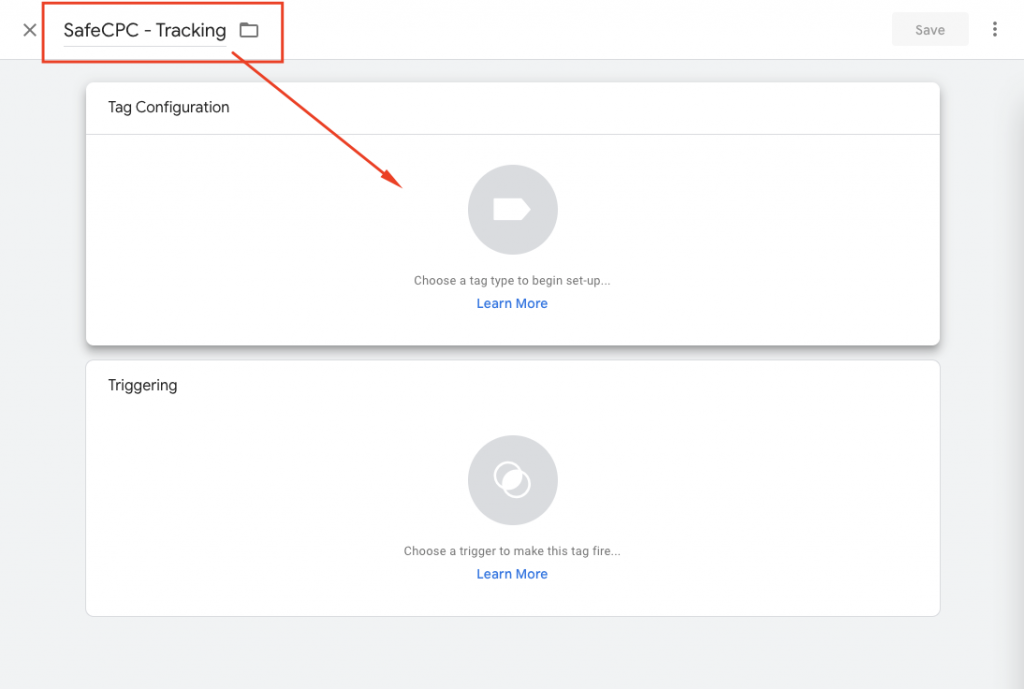
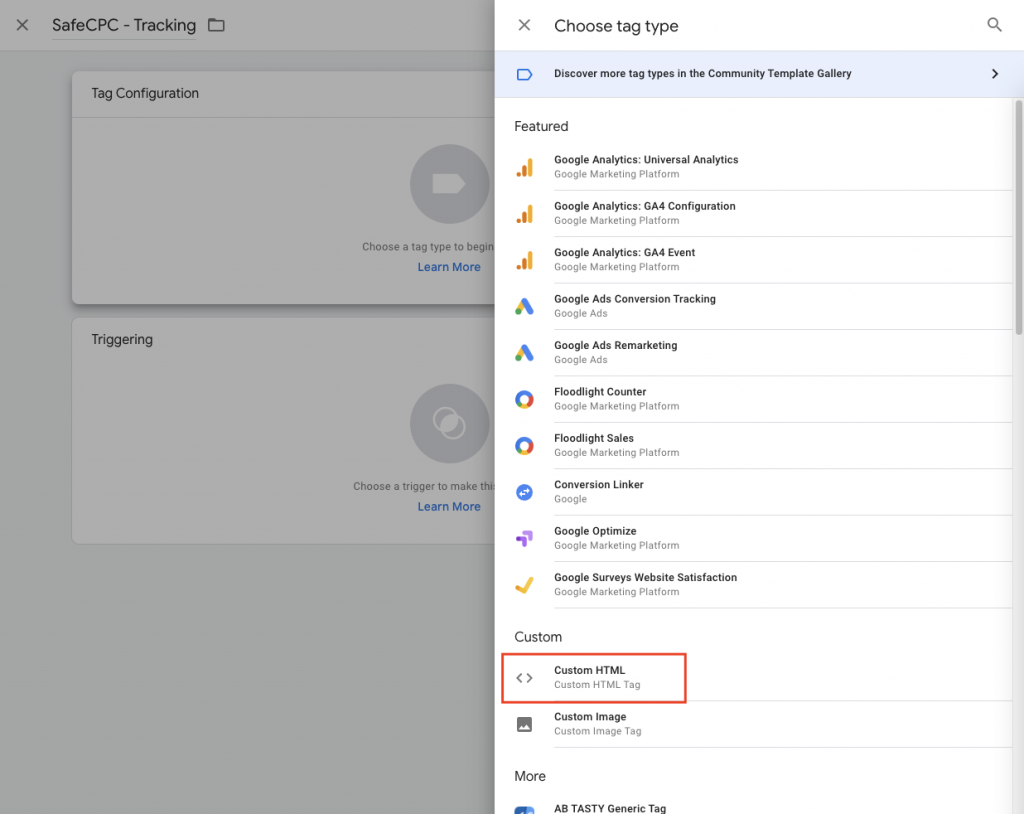
Select Custom HTML
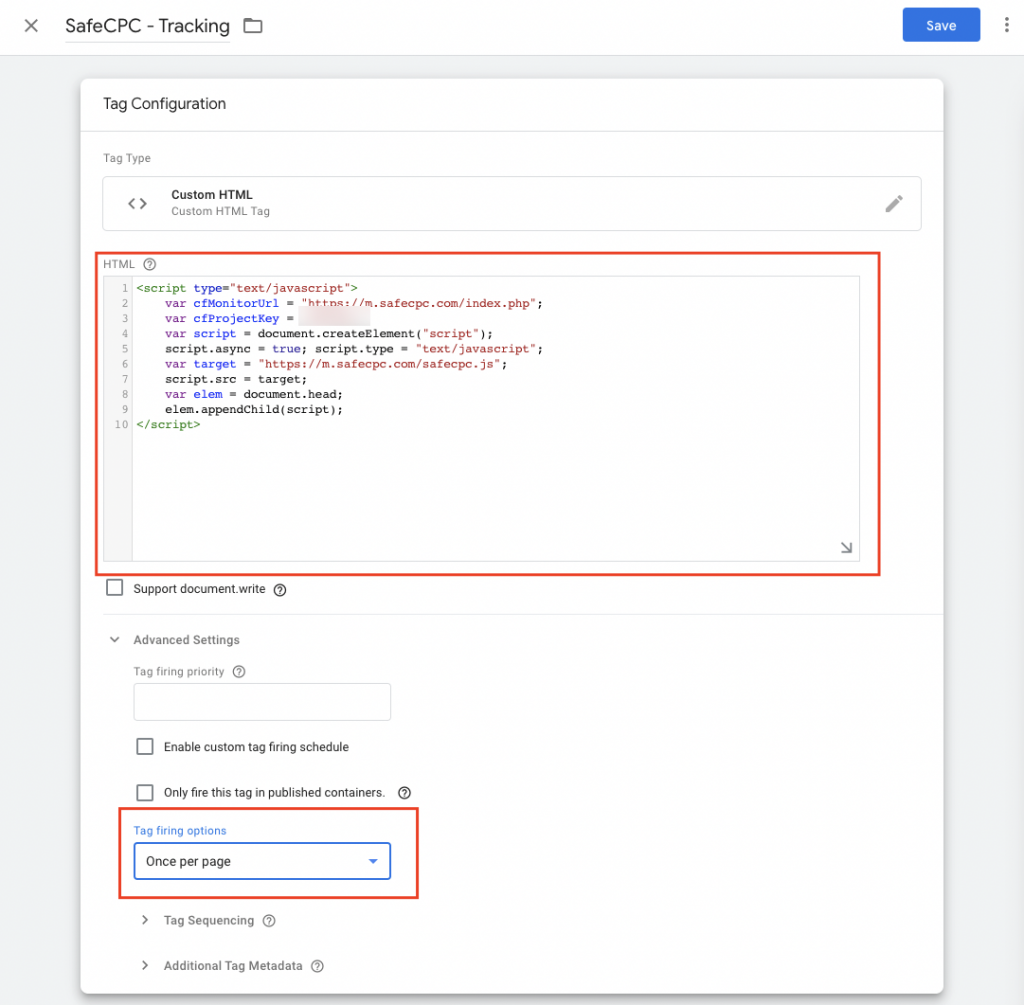
Paste tracking code and change the Tag firing options to Once per page
Now, click on the Triggering section
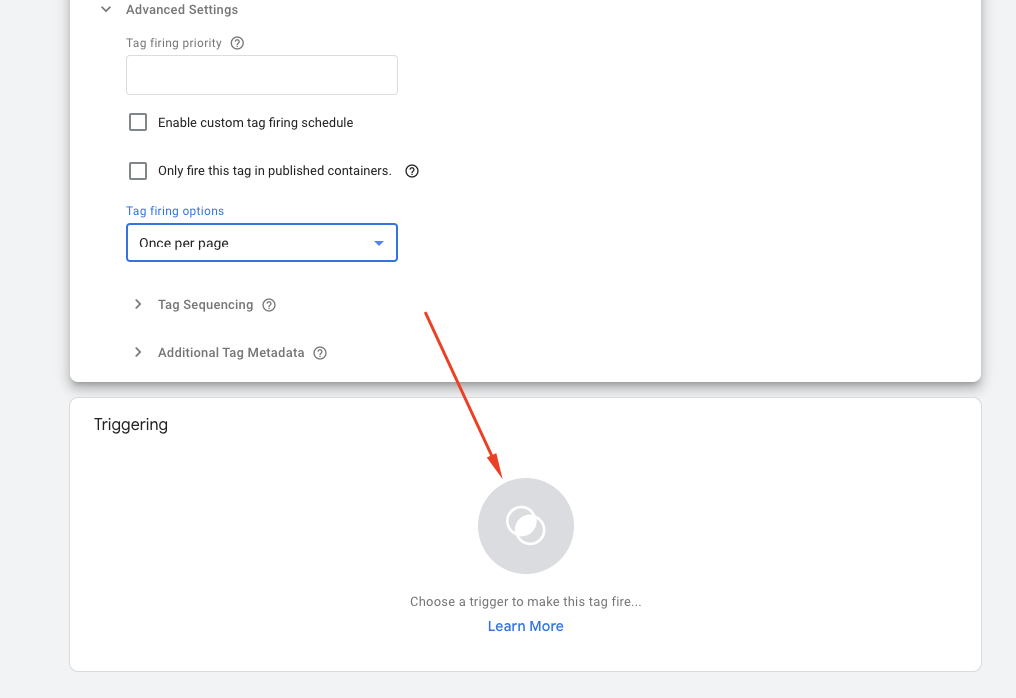
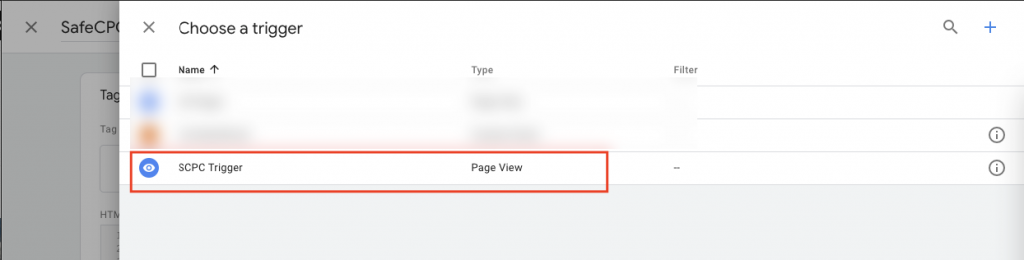
And select previously created trigger
Now click save
After that, you can either preview the container or Submit your changes. And this is it. You can now, go and verify installation.